1. Angular.js 프로젝트 생성
@angular-cli 패키지 설치
$ npm i -g @angular/cliangular-cli 설치가 되어 있는 분은 다음으로 넘어가시면 됩니다.
Angular.js 프로젝트 생성
$ ng new clientAngular 프로젝트를 생성하고자 하는 경로에서 명령어 실행하세요.
서비스 실행 및 확인
$ ng serve --watch
또는
$ pm2 start "ng serve" --name "client" --watch
pm2를 사용하시려면 pm2 패키지 설치가 되어 있어야 합니다.
pm2 설치는 npm install -g pm2 로 설치하면 됩니다.
윈도우 환경에서는 pm2 start "ng serve" 를 다른 방법으로 실행해야 합니다.
계속 수정하면서 결과를 확인하기 위해 watch 옵션을 추가합니다.
const exec = require('child_process').exec;
const path = require('path');

const client = exec('npm run start', {
  windowsHide: true,
  cwd: path.join(__dirname, './'),
});

client.stdout.pipe(process.stdout);
client.stderr.pipe(process.stderr);
client의 루트경로에 pm2_start.js 파일을 만들어 위 코드를 복사하세요.
서버 실행
$ pm2 start pm2_start.js --name "client" --watchclient라는 이름으로 Angular 서버를 실행할게요.
서버 확인
- (localhost:4200)
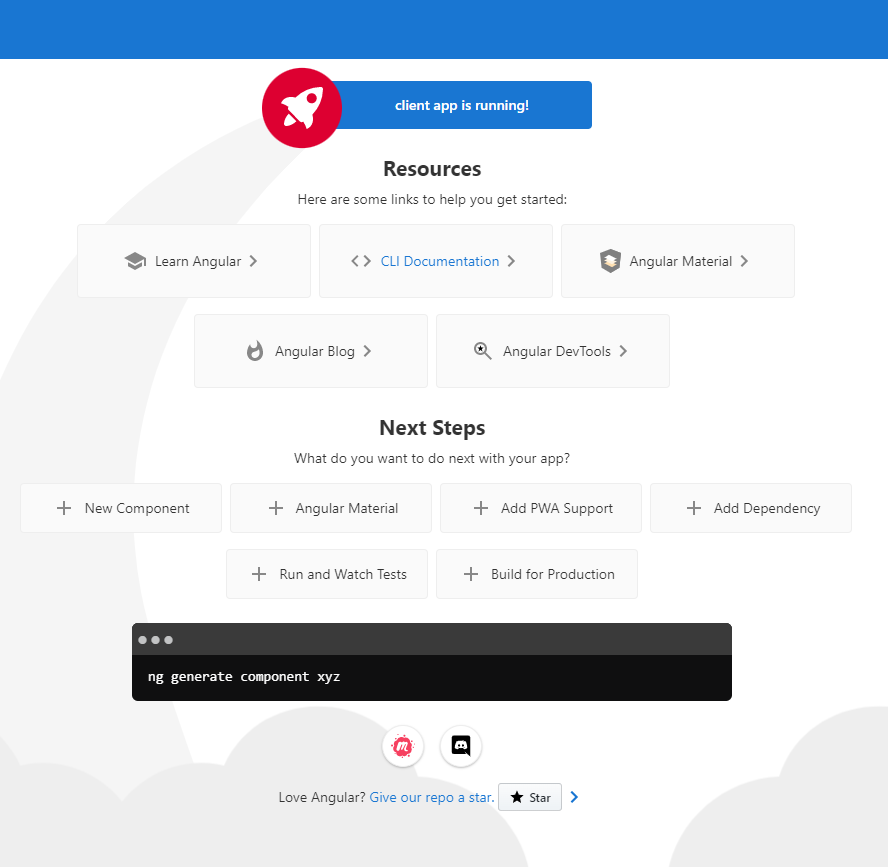
기본적으로 Angular서버의 port는 4200을 사용합니다.
정상적으로 페이지가 떴다면 Angular(Front)는 사용할 준비가 되었습니다.
2. Node.js 프로젝트 생성
express-generator로 프로젝트를 생성할 것입니다.
만약 express-generator를 사용한 경험이 없다면 아래 글을 참고하세요.
Node.js :: express-generator 로 개발환경 세팅
express-generator 패키지 설치
$ npm install -g express-generator
$ npm install cors
Node.js 프로젝트 생성
$ express serv --no-view --gitNode 프로젝트를 생성하고자 하는 경로에서 위 명령어를 실행하세요.
서버 실행
$ pm2 start bin/www --name "serv" --watchserv라는 이름으로 Node 서버를 실행할게요.
서버 확인
(localhost:3000)
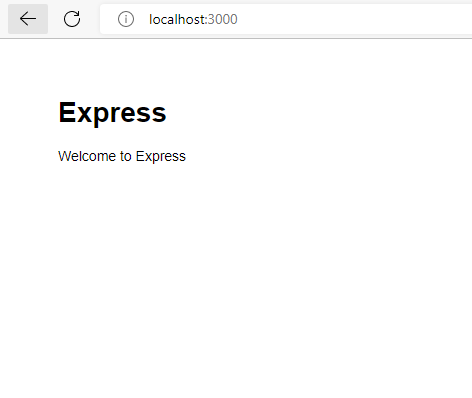
기본적으로 Node서버의 port는 3000을 사용합니다.
위와 같은 페이지가 보인다면 Node 서버도 준비가 완료되었습니다.
3. Angular서버에 Node서버 정보 설정
Node서버 정보 설정
const LOCAL_IP = 'localhost'; // 사용할 IP
const TEXT_HTTP = 'http';

export const API_SERVER = `${TEXT_HTTP}://${LOCAL_IP}:3000`;
4. Angular서버 라우팅 설정 및 테스트
route 설정 (index 페이지)
$ ng g c routes/index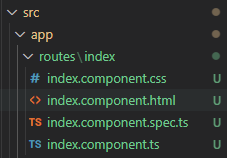
import { RouterModule, Routes } from '@angular/router';
import { IndexComponent } from './routes/index/index.component';

const appRoutes: Routes = [
  { path: '', redirectTo: 'index', pathMatch: 'full' },
  { path: 'index', component: IndexComponent, pathMatch: 'full' },
  { path: '**', redirectTo: '/', pathMatch: 'full' },
];

export const appRoutingProviders: any[] = [
];

export const AppRoutingModule = RouterModule.forRoot(appRoutes);<router-outlet></router-outlet>router-outlet: 라우팅된 화면을 표시하기 위해서<router-outlet>을 사용합니다.
라우팅이 여러개일 경우에도 라우팅 규칙에 의해 매칭되는 첫 번째 라우팅을 출력합니다.
<p>index works!</p>
<h2>index 페이지 내용 가져오기</h2>
<div id="index-data"></div>
라우팅 테스트
- (http://localhost:4200)
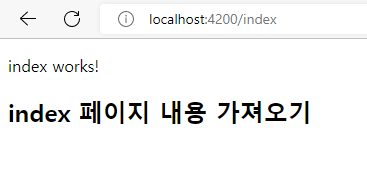
자동으로 "http://localhost:4200/index"로 변경된 것을 확인할 수 있습니다.
이제 라우팅도 되었으니 본격적으로 서버에 연결하는 작업을 하겠습니다.
5. Node서버 API 개발
cors 세팅 & 라우팅 설정
...

var cors = require('cors');

...

const options_cors = {
    origin: 'http://localhost:4200',
    credentials: true,
    optionsSuccessStatus: 200,
}
app.use(cors(options_cors));

...

//app.use('/', indexRouter);
//app.use('/users', usersRouter);

app.use('/api/index', indexRouter);
...
위에서 설치한 패키지 cors를 연결합니다. 크로스 도메인 오류를 막기 위한 방법입니다.
기본적으로 app.use(cors()) 로 하면 모든 도메인을 허용하는 것입니다.
origin: 허용하고자 하는 도메인credentials: Access-Control-Allow-Credentials 헤더를 구성해 전달
자세한 내용은 하단의 cors를 참조하세요.
기존 '/' 에 걸려있는 indexRoute를 '/index'로 변경 (그대로 두어도 상관은 없는데, 직관적으로 보기 위해 변경함)
var express = require('express');
var router = express.Router();
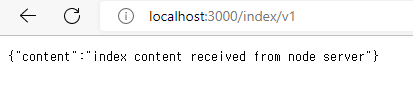
router.get('/v1', function(req, res, next) {
// index에 보여줄 내용들 (db로 가져와도 되고, 그냥 보내줘도 되고)
content = 'index content received from node server';
if(!content) {
res.status(400).json({error: 'content is empty'});
} else {
res.json({content: content});
}
});
module.exports = router;API 테스트
- (localhost:3000/api/index/v1)
이제 Angular서버에서 Node서버의 index API를 호출해 content 값을 가져오겠습니다.
6. Angular서버에서 Node서버 API 호출하기
service 생성
$ ng g s services/api-interceptor
$ ng g s services/index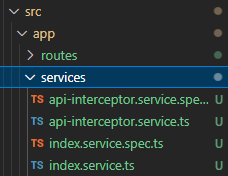
client/src/app 경로에서 명령어 입력하셔야 합니다.
패키지 설치
$ npm install rxjsservice 세팅
import {Injectable} from '@angular/core';
import {HttpEvent, HttpHandler, HttpInterceptor, HttpRequest} from '@angular/common/http';
import {Observable} from 'rxjs'
import {API_SERVER} from '../app.const';

@Injectable()
export class ApiInterceptor implements HttpInterceptor {
  intercept(req: HttpRequest<any>, next: HttpHandler): Observable<HttpEvent<any>> {
    req = req.clone({
      url: API_SERVER + req.url
    });
    return next.handle(req);
  }
}
API서버를 사용하기 위해 api-interceptor.service 생성
살짝만 설명하자면 HttpInterceptor는 전역으로 API 요청 또는 에러를 처리할 때 사용합니다.
우리는 무조건 별도의 노드서버(API_SERVER)로 요청을 할 거니까 HttpInterceptor를 설정했습니다.
지금은 url경로만 다른 경로로 설정해 해당 경로를 반환하는 방식으로 API 서버로 요청을 전달합니다.
만약 요청의 모든 헤더에 토큰을 같이 보내고 싶다거나, 에러 처리를 하고 싶다거나 하면 이 부분에 별도로 처리해주면 됩니다.
HttpInterceptor의 자세한 내용은 따로 블로그를 작성할 예정입니다.
import { NgModule } from '@angular/core';
import { BrowserModule } from '@angular/platform-browser';
import { AppRoutingModule } from './app-routing.module';

import {HTTP_INTERCEPTORS, HttpClientModule} from '@angular/common/http';

/*** component ***/
import { AppComponent } from './app.component';

/*** services */
import { ApiInterceptor } from './services/api-interceptor.service';
import { IndexService } from './services/index.service';

@NgModule({
  declarations: [
    AppComponent,
  ],
  imports: [
    BrowserModule, HttpClientModule,
    AppRoutingModule,
  ],
  providers: [
    { provide: HTTP_INTERCEPTORS, useClass: ApiInterceptor, multi: true },
    IndexService,
  ],
  bootstrap: [AppComponent]
})
export class AppModule { }
Interceptor 관련된 부분 추가
import { Injectable } from '@angular/core';
import { HttpClient } from '@angular/common/http';
import { map } from 'rxjs';

@Injectable()
export class IndexService {

  constructor(private http: HttpClient) { }


  get() {
    return this.http.get(`/api/index/v1`)
      .pipe(
        map( (res: any) => { return res['content']; })
      )
  }
}
http.get() 으로 API 호출
자세한 내용은 추후 집중적으로 작성할 예정
import { Component, OnInit } from '@angular/core';

import { IndexService } from 'src/app/services/index.service';

@Component({
  selector: 'app-index',
  templateUrl: './index.component.html',
  styleUrls: ['./index.component.css']
})
export class IndexComponent implements OnInit {

  constructor(
    private indexServce: IndexService,
  ) { }

  content: string = '';

  ngOnInit(): void {
    this.indexServce.get().subscribe({
      next: (v) => this.content = v,
    });
  }
}
<p>index works!</p>
<h2>index 페이지 내용 가져오기</h2>
<div id="index-data">{{ content }}</div>최종 테스트
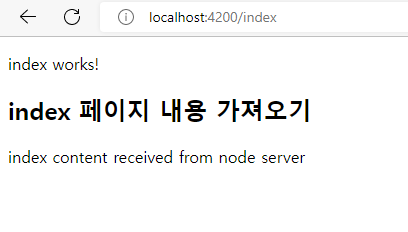
"index content received from node server"는 Node Server에서 가져온 데이터입니다.
너무 전체적인 내용을 다뤘는데, 세부 내용에 집중해서 조금 더 다뤄볼 예정입니다.
참고자료
Angular 가이드
Angular 가이드 - Angular 가이드문서 소개